Pixels
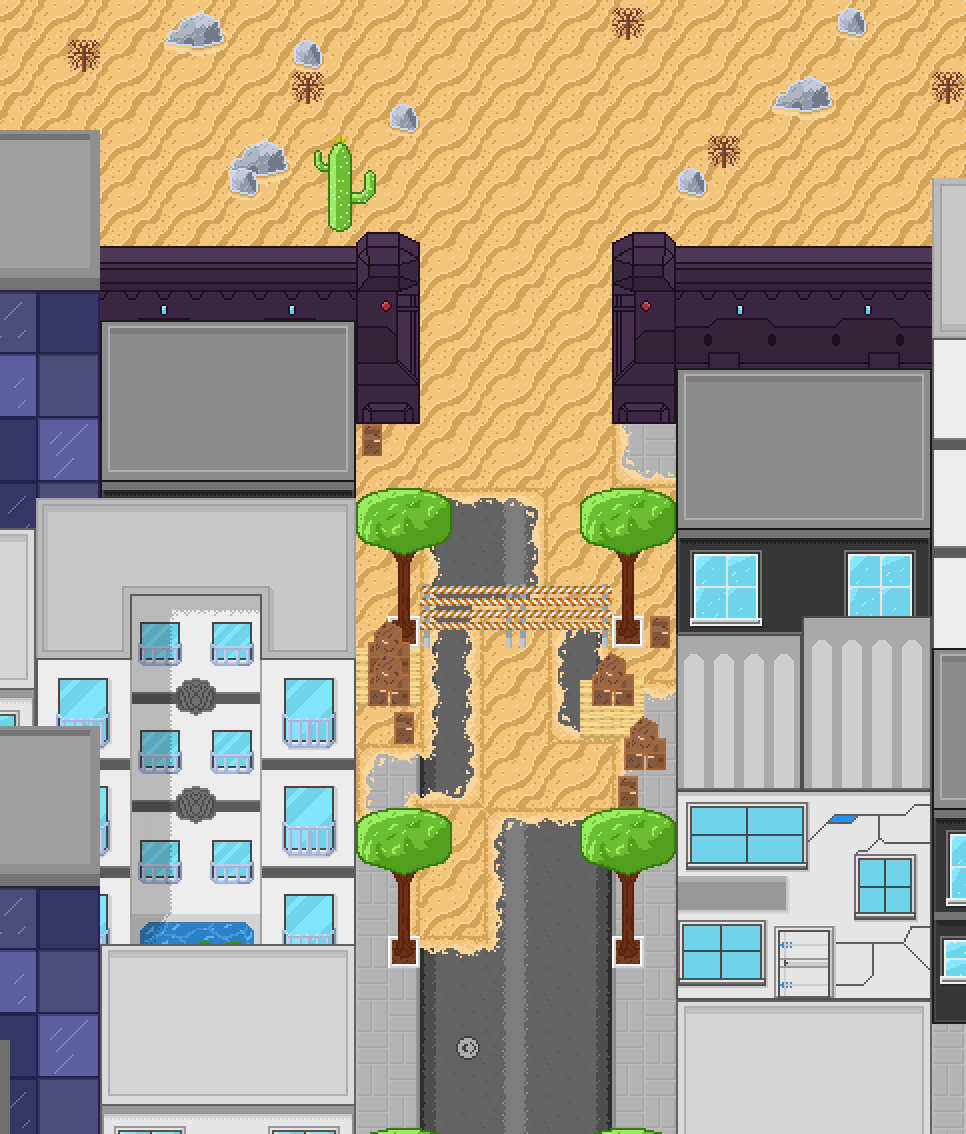
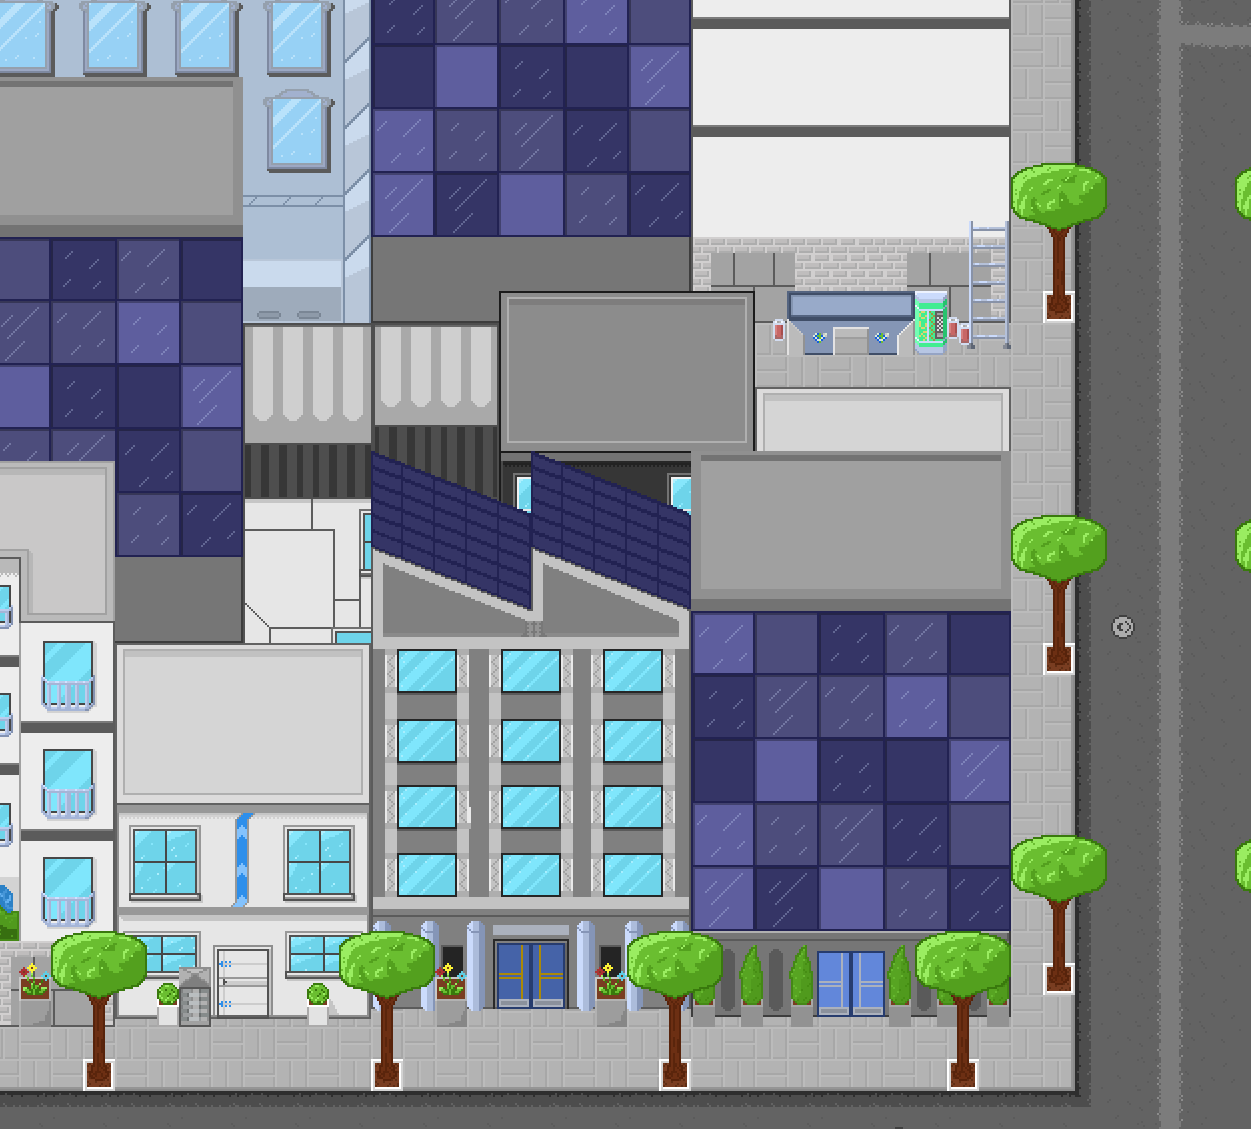
Every week, I have to come up with something unique to blog about. Some weeks, that’s far easier to do than others, but this week was fairly obvious given what I’ve been working on for over a month now. This week, I’m going to talk about the new medium I’ve been steadily experimenting with and learning more about, Pixel art!
Ever since I was little, I’ve always wanted to get into art of some kind, but I never could find an art form that really meshed with me. Sure, I tried digital painting and other things, but I was never… good at any of it. Trying to truly express what I could see in my head was a massive challenge, so I ended up straying away from it purely because I have an immense fear of failure. Fast forward to a month ago and I was playing a simplistic pixel art game when it suddenly hit me. Recreating one of these 16x16 pixel characters I was staring at wouldn’t be tough to do at all, which got me thinking about what I could create on my own using pixel art. Curious, I ended up dabbling in some different methods for making pixel art, and I very quickly got hooked.
Simplicity is the main appeal of any pixel art piece. Making something complex and beautiful with as little detail as possible is part of the charm, and even some 100x100 art pieces out there can be quite stunning. That same simplicity makes it extremely easy to get into pixel art, so it wasn’t difficult for me at all to do a little ‘monkey-see, monkey-do.’ With how simple pixel art is, I didn’t have to worry about learning all the tools and methods of the craft. I was able to more focus on how to make the art look good, and that caused neurons to connect in my head that have never connected before and let me really start seeing what I need to do in order to bring pieces to life. For example, I far better understand the importance of shading, outlining, and composition more so than ever before. While I have a long ways to go before I can ever stop considering myself an amateur, I am quite proud of the progress that I’ve made, and I hope to steadily grow even more skilled with pixel art so I can one day make works just as impressive as some of those that I’ve seen on forums and reddit.
My Methods and Tools
One thing I wanted to do on this post was to provide some info to anyone else that might be interested in pixel art. While I am an amateur, I still know a little bit that could springboard someone into pixel art that might be searching around for easy info on where to even start! This isn’t going to be a ‘here’s 10 tips’ or some other clickbait bs. I’m simply going to show off the tools that I use, how to use them, and hopefully give a curious future pixel artist somewhere to start that’s more direct about what needs to be done.
The Tool:
To start things off, lets cover the tools you could use for pixel art. Plain and simple, if you want a free option, use gimp. It has everything that someone could need to do pixel art, but, if you want a tool dedicated specifically to pixel art, and the tool that I use myself, use Aseprite. Aseprite is extremely intuitive and has a lot of different shortcuts and tools that you can find fairly easily even without searching, and it simplifies certain processes like making animations. You can get it on steam and can basically jump right in with little tutorial guidance, though, I would still recommend one of the many doughnut tutorials out there.
Aseprite shortcuts and hotkeys:
The following are a list of helpful to know shortcuts and hotkeys. Again, you can find most of this in tutorials, but I wanted to make it extremely upfront so no one has to go digging for this information.
B - Opens your basic pixel painter. Fills in one square at a time by default as if you’re painting.
Ctrl - Pressing ctrl and scrolling will either enlarge or shrink your cursor.
I - Activates the eye dropper, allowing you to pick a color from the image you are working with.
W - This one is quite interesting. It’s a group selection tool that will select pixels base on color, making it easy to isolate, copy, or edit a certain color.
G - This is your standard paint bucket feature.
Continuous - This flag is available when using the paint bucket tool and can make it so the paint bucket replaces ALL colored pixels matched the pixel you just clicked on or only those directly connected to it. For example, if you had a wall of green divided by a black line and painted the left side of the green blob blue, that blue would not translate to the other side.
Symmetry - Available at the top of the canvas, will make it so that changes made on one side of the canvas copy to the other.
E - The eraser shortcut. Acts similar to the paint tool.
V - Opens the move tool. Behaves similar to W but focuses more on standard selection practices, such as rectangular selection.
C - This one is MASSIVE. Pressing C opens the canvas tool, allowing you to enlarge your canvas in any direction by any number of pixels you want on the fly. It’s got a lot more to it than just that, but I have a tendency to use this on a regular basis since I like to build out from a single point.
Pixel-Perfect - This one is a little… odd. You use this with the basic paint tool, and it makes it so that Aseprite will try and correct your line as you draw to make it truly one pixel at a time. Instead of making an angle corner, it will cut off the corner piece to make a flatter looking line. Useful sometimes.
Methods:
With all of those hotkeys out of the way, let’s talk methods. There are a lot of ways that you can go about pixel arting, but what I’ve found that works for me is the following workflow.
Sketch: To start, I sketch out what I want to eventually make on a sheet of paper. It doesn’t have to look good or be detailed. All I use this for is to give me an outline to build off of. With a sketch in hand, you can upload it onto your computer and then create a Reference Layer to import it directly into Aseprite and work off of it, which is SUPER helpful.
Blocking Out: Some artists do this, some don’t. I do. Blocking out refers to picking some of your main colors and then coloring in massive chunks of your image to start with. For example, if you have a canopy, you would paint it one massive blob of green with no details. This helps section out your canvas and focus your efforts where they are needed. The detail comes next.
Detailing: This is where I add in things like grass, shrubs, details on trees, and things like that. You use this step to give your image texture, and this is where most of your time will go.
Shading: For this step, I recommend using the eyedropper on your main colors and then picking a color that’s a shade darker and a shade lighter, sometimes two even. With these, you give highlights and shadows to everything in your scene, really making it pop! Some artists use a shading layer for it, and some draw directly on the canvas itself. It’s up to preference here.
Additional detailing: Sometimes shading can make it more obvious that details are needed elsewhere. This final step is where you do your touchup work and fix any of the blemishes you might have noticed. Again, some may choose to work this way, and some may choose to handle this earlier in the process.
Everything With a Grain of Salt
I am by no means an expert, and I’m definitely not trying to pretend that I am. All I wanted to do with this was give prospective artists something to start with and to honestly hopefully show others that it’s not as intimidating as I once thought it was. Everything in here is subject to opinion, and anyone can feel free to disagree with any point. These are simply the steps that work for me, and they don’t have to work for everyone. To wrap this segment up, I think the best thing for me to do is simply link some of the pieces that I’ve created over the past month! Maybe in a year I’ll do a follow up just so I can see how far I’ve come.
Closing
That’s all I’ve got for this week. Next week I believe I will be doing a break down on the Sapphire Verdict universe since I, somehow, haven’t done that on here yet. Hopefully here soon you can expect to see me become even more active on social media! Believe me, I’m working on it!
Cheers!
The Flying Fennec


